

You can add reviews manually in WordPress or edit reviews submitted through your Review Collection form.
Published reviews are available to your review layouts. Draft and pending reviews remain hidden from public displays.
Step 1: Add a review
In your WordPress dashboard, go to Reviews → All Reviews and click Add Review.
Enter a review title. You can display this title in your layouts using the Review Title detail.
Step 2: Enter the review text
Use the review text editor to enter the customer’s feedback.
You can format the text with paragraphs, bold text, links and other available editor controls.
For a video review, you can add supporting text alongside the video.
Step 3: Complete the review details
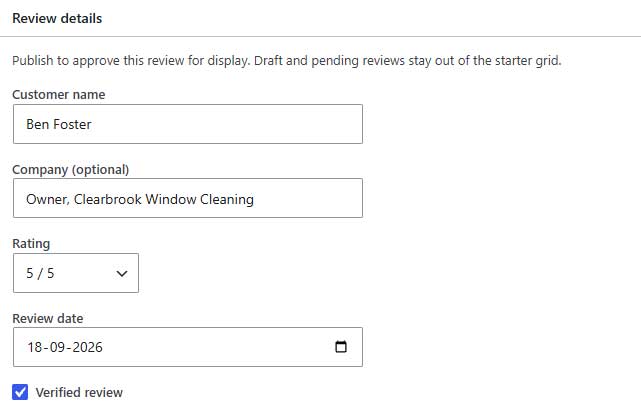
In the Review details panel, enter:
- Customer name: The name displayed with the review.
- Company (optional): The customer’s company or business name.
- Rating: Select a whole-number rating from 1 to 5.
- Review date: The date associated with the review.
Step 4: Add a customer profile photo
Find the Customer profile photo panel and click Set customer profile photo.
Select an image from the Media Library or upload a new one.
This photo is separate from the review’s content image or video. It can appear beside the customer’s name or in layouts that use profile pictures.
Step 5: Add optional review media
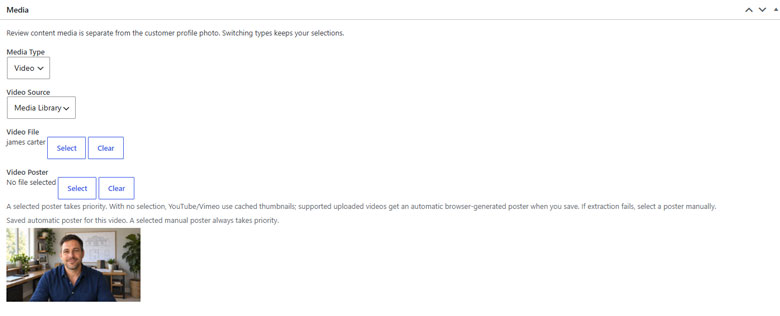
In the Media panel, choose a Media Type:
- None: No content image or video.
- Image: Select a Review Image.
- Video: Choose a video source.
For video reviews, select:
- Media Library: Select an uploaded Video File.
- External URL: Enter a supported YouTube or Vimeo URL.
You can also select a Video Poster to control the preview image shown before playback.
See Images and Video Reviews for more detail.
Step 6: Assign review collections
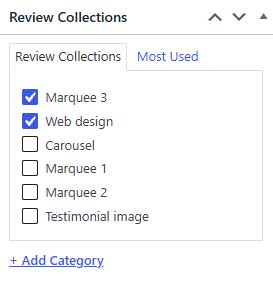
In the Review Collections panel, select the collections that apply to this review.
Collections help you organize reviews and filter your review layouts, summaries and badges.
A review can belong to more than one collection.
Step 7: Save or publish
Click Save Draft if you want to finish the review later.
Click Publish when it is ready to appear on your website.
Publishing approves the review for display. Whether it appears in a particular layout depends on that layout’s collection filters, sorting and review limit.
A manually added review needs valid customer details, a rating, a review date, and review text or a usable video.
Editing an existing review
Go to Reviews → All Reviews, find the review, and click its title or Edit.
Make your changes, then click Update.
If you are editing a customer submission, preserve the meaning of their feedback.
Marking a review as verified
The Verified review checkbox is available in the review editor. You can also change it through Quick Edit.
Only enable it when your own verification process supports the claim. Publishing a review does not automatically mark it as verified.
See Verified Reviews for more information.
Setting the review order
Use Review Order to assign a positive whole number to a review.
In your display layout, choose Review Order (assigned first) as the loop’s sorting option to use these numbers. Lower assigned numbers appear first, followed by reviews without an assigned order.